Tuesday, March 4, 2014

Fixing the stiction on Redcat Racing's Ground Pounder shocks


  • Stiction

  • Stiction is the static friction that needs to be overcome to enable relative motion of stationary objects in contact. The term is a portmanteau of the term "static friction", perhaps also influenced by the verb "stick".Wikipedia

  • The stock shocks on the Ground Pounder have seem to have issues out of the box with shocks wanting to stay in one position instead of reacting to forces that should make them expand and contract . The severity of this issue seems to very greatly as my step fathers truck shows hints of it but my rear shocks where down right horrible .

  • So what is the fix for this . Some people buy new shocks from other brands such as HPI . Others fix the stock ones . 

  • I elected to Fix the stock ones so here is what I did .

  • Depending on the condition of your shocks your's may require more or less work than mine did my rear shocks where the worst and took 2 hours to do both . My front shocks took ruffly 1 hour .  


  • Remove the shocks from the model . Always rebuild / maintain your shocks in front or rear pairs so they preform equally
  • Remove the spring and lower and upper spring retainers.
  • Remove the upper cap and drain fluid in a clean container if you plan to reuse. Buying a bottle of fresh shock oil in the 20-30 wt rang is recommenced to insure you have enough to fill the shocks completely.
  • Remove the lower eyelet / ball link . Use pliers with a padded jaw or protect the shaft with a soft material if using normal pliers to prevent the shaft from becoming scored .
  • Slide the shock shaft out of the body and then remove the lower cap from the shock . There will be two seals in the body under the lower cap as shown in the picture . Set the smaller thinner o-ring / seal to the side as it will not be used during reassembly.
  • The inclusion of the small o-ring and the hole in the lower cap being undersized is the cause of the sticking in many of these shocks . 
  • Many people drill hole out to a larger size . Since it helps keep the shaft running parallel in the bore of the shock body I elected to use rubbing compound to increase the clearances but still keep slop at bay.

  • Just add a little bit and work it up and down the shaft .
  • After a while the compound will became gray- black wipe the shaft down test fit the cap on the shaft it should be just loose enough that it will slide down the shaft  by just gravity. 
  • Next clean the shaft up with polishing compound it will remove most if not all scratches on the shaft .
  • Apply just a bit 
  • Polish till it shines. 


  • Now reassemble for a test fit .

  • Insert the large o-ring back in the housing covered in plenty of silicone based grease.

  • lubricate the shaft with silicone grease and slide it though the body and the seal install the lower cap and tighten a few threads at a time while working the shaft back and forth to allow the seal to seat . When cap is snug move shaft through its full motion . If it moves  smoothly refill the shock with oil bleed out the air , re-install the upper cap lower eyelet , spring and the spring retainers .


  • If everything isn't silky smooth :

  • First loosen the lower cap a bit and see if the ruff spot is now in a different spot if so the hole in the lower cap is probably of center a bit and the drill bit method might be the best way to go .

  • If there is no change by loosening the lower cap inspect the shock piston it may have a bit of flash not removed at the factory . Light sand the outer diameter and retest .

  • If your still having problems there may be a flaw with the shock bodies bore it's self .

  • Role up a small piece of sand paper and rotate it in the bore . Start with a large grit piece and work down to a fine grit like 1000 . Do another test fit if you feel a improvement move on to using rubbing compound and then polishing compound . Test fit once more when the bore is nicely polished .


  • Wednesday, February 26, 2014

    Motor's I have tried in the Ground Pounder

    This list will grow with time.

    Below are a few tables showing the Spec's of the Mabuchi equivalents of the stock motor and a few others that may be of interest .  When looking at the chart's the last 2 digits of the part number denote how many turns the motor is . 


    MODELVOLTAGENO LOADAT MAXIMUM EFFICIENCYSTALL
    OPERATING
    RANGE
    NOMINALSPEEDCURRENTSPEEDCURRENTTORQUEOUTPUTTORQUECURRENT
    Vr/minAr/minAmN·mg·cmWmN·mg·cmA
    RS-540SH7520(*1)4.8 - 7.27.2234002.401974013.030.631263.2196199870.0
    6527(*1)4.8 - 9.69.6234001.60200409.5531.031664.9216220257.0
    MODELVOLTAGENO LOADAT MAXIMUM EFFICIENCYSTALL
    OPERATING
    RANGE
    NOMINALSPEEDCURRENTSPEEDCURRENTTORQUEOUTPUTTORQUECURRENT
    Vr/minAr/minAmN·mg·cmWmN·mg·cmA
    RS-550PC8019(*1)6.0 - 9.67.2153001.401354010.841.742559.1363370083.0
    RS-550VC7525(*1)6.0 - 14.412176001.201573010.158.359495.9549559685.0

    Stock 20 turn  540 motor 

    On flat ground it has a reasonable amount of speed but has unsatisfactory torque and high temperatures with the stock 23 tooth pinion. Installing a 17 tooth pinion improved things but still wasn't to a level I felt was appropriate .


    Pinion Tooth Count: 23
    Total Voltage: 8.4
    Motor KV: 3216
    Top Speed (MPH): 25.73


    Pinion Tooth Count: 17
    Total Voltage: 8.4
    Motor KV: 3216
    Top Speed (MPH): 19.02


    27 turn 540 Mabuchi  


    With a 17 tooth pinion temperatures where good top speed was mild but enjoyable . The boost in torque was noticeable.


    Pinion Tooth Count: 23
    Total Voltage: 8.4
    Motor KV: 2437
    Top Speed (MPH): 19.49


    Pinion Tooth Count: 17
    Total Voltage: 8.4
    Motor KV: 2437
    Top Speed (MPH): 14.41


    550 19 turn Redcat Racing part # 28446

    Don't ask me why the motor is listed as a 19 turn when the code on the can states its a 20 turn all I can say is close enough.

    This motor to me is a good first mild upgrade if you can find it on Ebay or such for less than $15 bucks. If its over $20 there are other options out there that can get you essentially the same motor or better for the same cash.

    To be honest this is the motor that should have shipped with the Ground Pounder from the factor as it provides a reasonable top speed " but slower than stock" and plenty of torque with the included 23 tooth pinion . If you want a bit more speed you could easily install a bigger pinion and sacrifice a bit of torque for more speed. Or you up the voltage which would be what I would do .


    Pinion Tooth Count: 23
    Total Voltage: 8.4
    Motor KV: 2125
    Top Speed (MPH): 17

    Pinion Tooth Count: 33
    Total Voltage: 8.4
    Motor KV: 2125
    Top Speed (MPH): 24.39

    Pinion Tooth Count: 23
    Total Voltage: 12.60
    Motor KV: 2125
    Top Speed (MPH): 25.5

    Leopard LBP3650/3.5D 3900KV 4-Poles Inrunner Brushless Motor RTR

    Pulled this motor and the ESC from the Redcat Twister I am No longer running . All I can say is wow complete over kill Currently Running this with a 10 tooth Mod 1 pinion and the 43 tooth Mod 1 spur gear . After twisting  2 driveshafts I have lowered the punch level of the HobbyWing / Lansu ESC to 2 and am now lowering the timing to make it more drivable and to help safeguard the fresh shafts till upgraded ones are installed . 

    Spec's

    Max
    Amps
    Max VoltageMax
    Power
    KV
    (RPM/V)
    Resistance
    Dia. x Length
    (mm)

    Length of
    Extend Shaft
    Shaft Dia.Weight

    86A15V1300W3900KV0.0075Φ36.0×50
    16mm5mm185g

    Pinion Tooth Count: 10
    Spur gear tooth count: 43
    Total Voltage: 8.4
    Motor KV: 3900
    Top Speed (MPH): 25.55

    (Not attempted yet )
    Pinion Tooth Count: 10
    Spur gear tooth count: 43
    Total Voltage: 12.6
    Motor KV: 3900
    Top Speed (MPH): 38.33


    Thursday, February 20, 2014

    Redcat Racing Gound Pounder Quality .

    Well at this time I still like the Ground Pounder but I do have a few words of warning .

    Construction quality of 1 I received and the one my step father have has proven to be vastly different.

    Examples :

    Several screws on my  truck are longer than they need to be .None of these are in places were they are a issue but it seems like they ran out of the right length screws and substituted what ever would work from what they had.

    My step dads trucks shocks has had a mild amount of sticktion where the shocks hangup after not being cycled for a bit .

    My shocks were horrible after a lot of work the rears are smooth as butter and the fronts are waiting there turn ( expect a post with pictures showing a tear down when I do the fronts ) .

    His motor has 30-40 packs minimum through it and despite a hiccup its still chugging along my motor is junk after 5 packs . The arm that holds and applies tension to the brush broke off.

    So am I mad NO I bough this RC to modify to my taste.


    Tuesday, February 18, 2014

    Redcat Racing Ground Pounder spec's


    Redcat list some of the spec's for the Ground Pounder but it seems a few  are looking for more detailed information . More will be added as I have time.

    Wheel Base 317 mm
    Width          336 mm
    Axle width  11'' inches hex to hex

    Motor 20 turn 540 

    ESC waterproof Hobby wing WP-1040

    Rim size is 3.2 inch and uses a 12mm hex . Basically Common rims that fit the E-Maxx and T-Maxx will fit if you use 14mm or 17mm wheel  hex's there are lots of options . Most recommend the 3/4 inch stable maxx offset for additional tire clearance.

    Tires are 3.2 inch inner diameter and 6.25 on there outer diameter.  

    Stock setup doesn't feature foam inserts in the tires

    Transmission ratio's and possible wheel speed stock.

    Differential Ratio: 3.30
    Transmission Ratio: 1.68
    Other Ratio: 1
    Spur Tooth Count: 81
    Pinion Tooth Count: 23
    Total Voltage: 8.40
    Motor KV: 3216
    Tire Diameter (inches): 6.25
    Top Speed (MPH): 25.73

    Pinion and spur Pitch is standard 48 pitch and not mod.6 as stated on the stock replacement pinion.

    The smallest pinion that can be use with the stock spur gear and without altering the stock adjustment channel is a 17 tooth pinion.  


    Monday, February 17, 2014

    What pitch Is the Redcat Racing Ground Pounder Pinion and spur.

    So what did I learn to day .

    That Redcat Racing's part's Number BS701-019 is miss labeled . There website states : Pinion Gear 23T (.6 Mod), M3 Screw ~ . This is partially in correct it is a 23 tooth pinion but it not mod .6 / metric 48 pitch it is in fact imperial 48 pitch go figure . So don't waste your money if your looking to gear your Ground Pounder down  on .6 modual pinions as you will burn through a spur in no time.


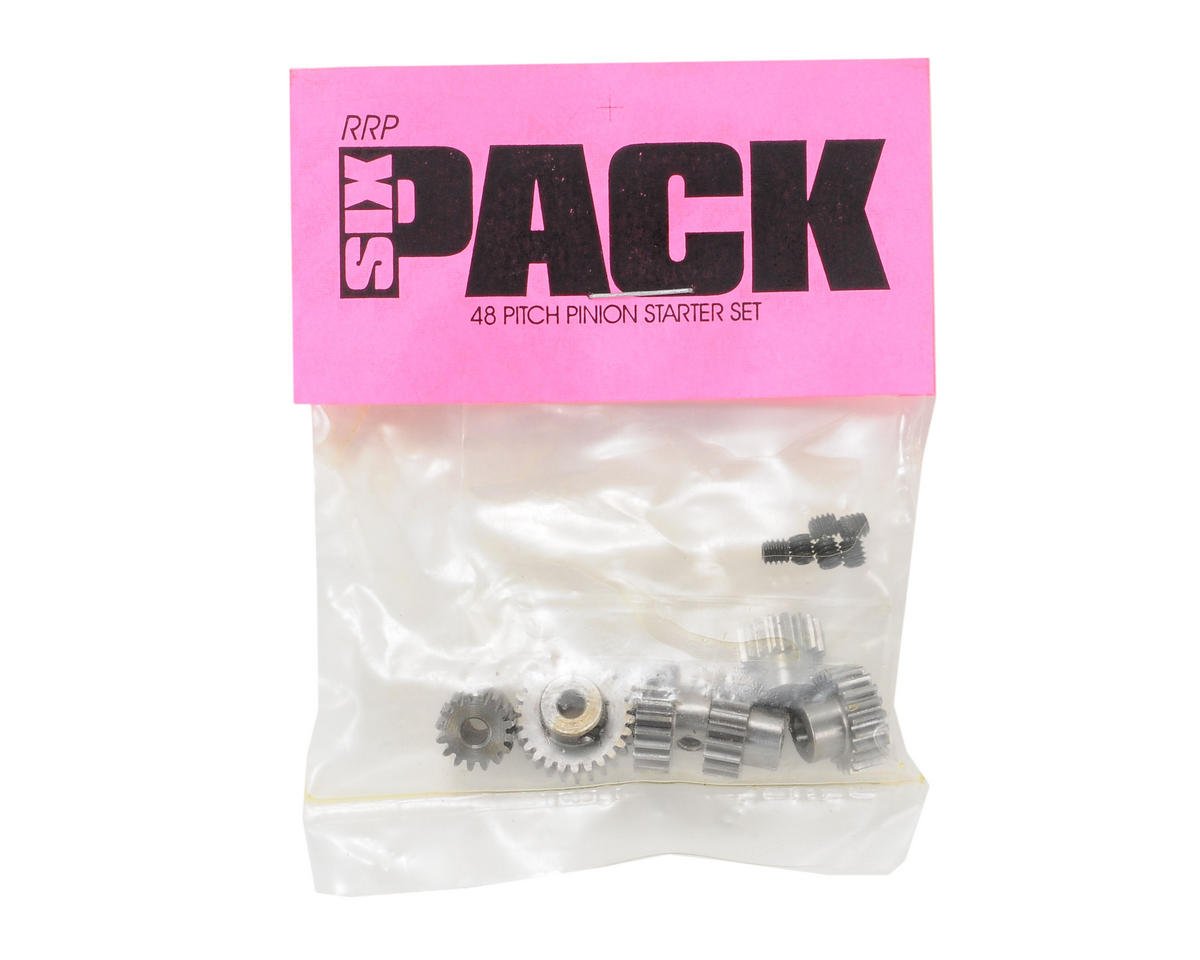
    P.S. if your new to the hobby the best deals on 48 pitch pinion gears is the Robinson Racing Six pack starter set Part # 1050 / 1055 .   
    Part #1050 comes with a 16T 18T 20T 22T 24T 26T steel pinions Part # 1055 comes with 15T 17T 19T 21T 23T 25T steel pinion . There a heck of a deal at as each set normally sels for less than $16.00 .

    Well I been playing with the Ground Pounder .


    I decided early on I wanted more grunt out of the Ground Pounder. So I Swapped the 23 tooth pinion for a 19 tooth pinion and to be honest I feel it needs more torque still If its going to replace the Clodbuster for my purposes .

    I played a little to day and shot a little video sadly I forgot to change the camera settings so not the best quality but hey its a running video.


    I will soon be adding to the broken parts list its only a matter of time.

    Monday, February 10, 2014

    New Toy is on its way " Redcat Racing Ground Pounder "

    Yup I did it I placed a order for a Ground Pounder I needed something to take care of my Snow driving fix and for the money I cant complain about the durability and performance I have seen from my step-dads truck so expect to see a lot of stuff when it arrives.

    Current plans for the future include :


    I plan to experiment  with the stock motor and several brushed aftermarket motors but eventually a brushless system will find its way in .

    Since the ESC is rated as 3s lipo capable I'm thinking a 20 or 19 turn brushed 550 motor powered with a 3s lipo should be the ultimate budget system for the Ground Pounder just saying . 


    Steel spur gear upgrade if necessary but the plastic version will probably do . BS801-014  MPO-017


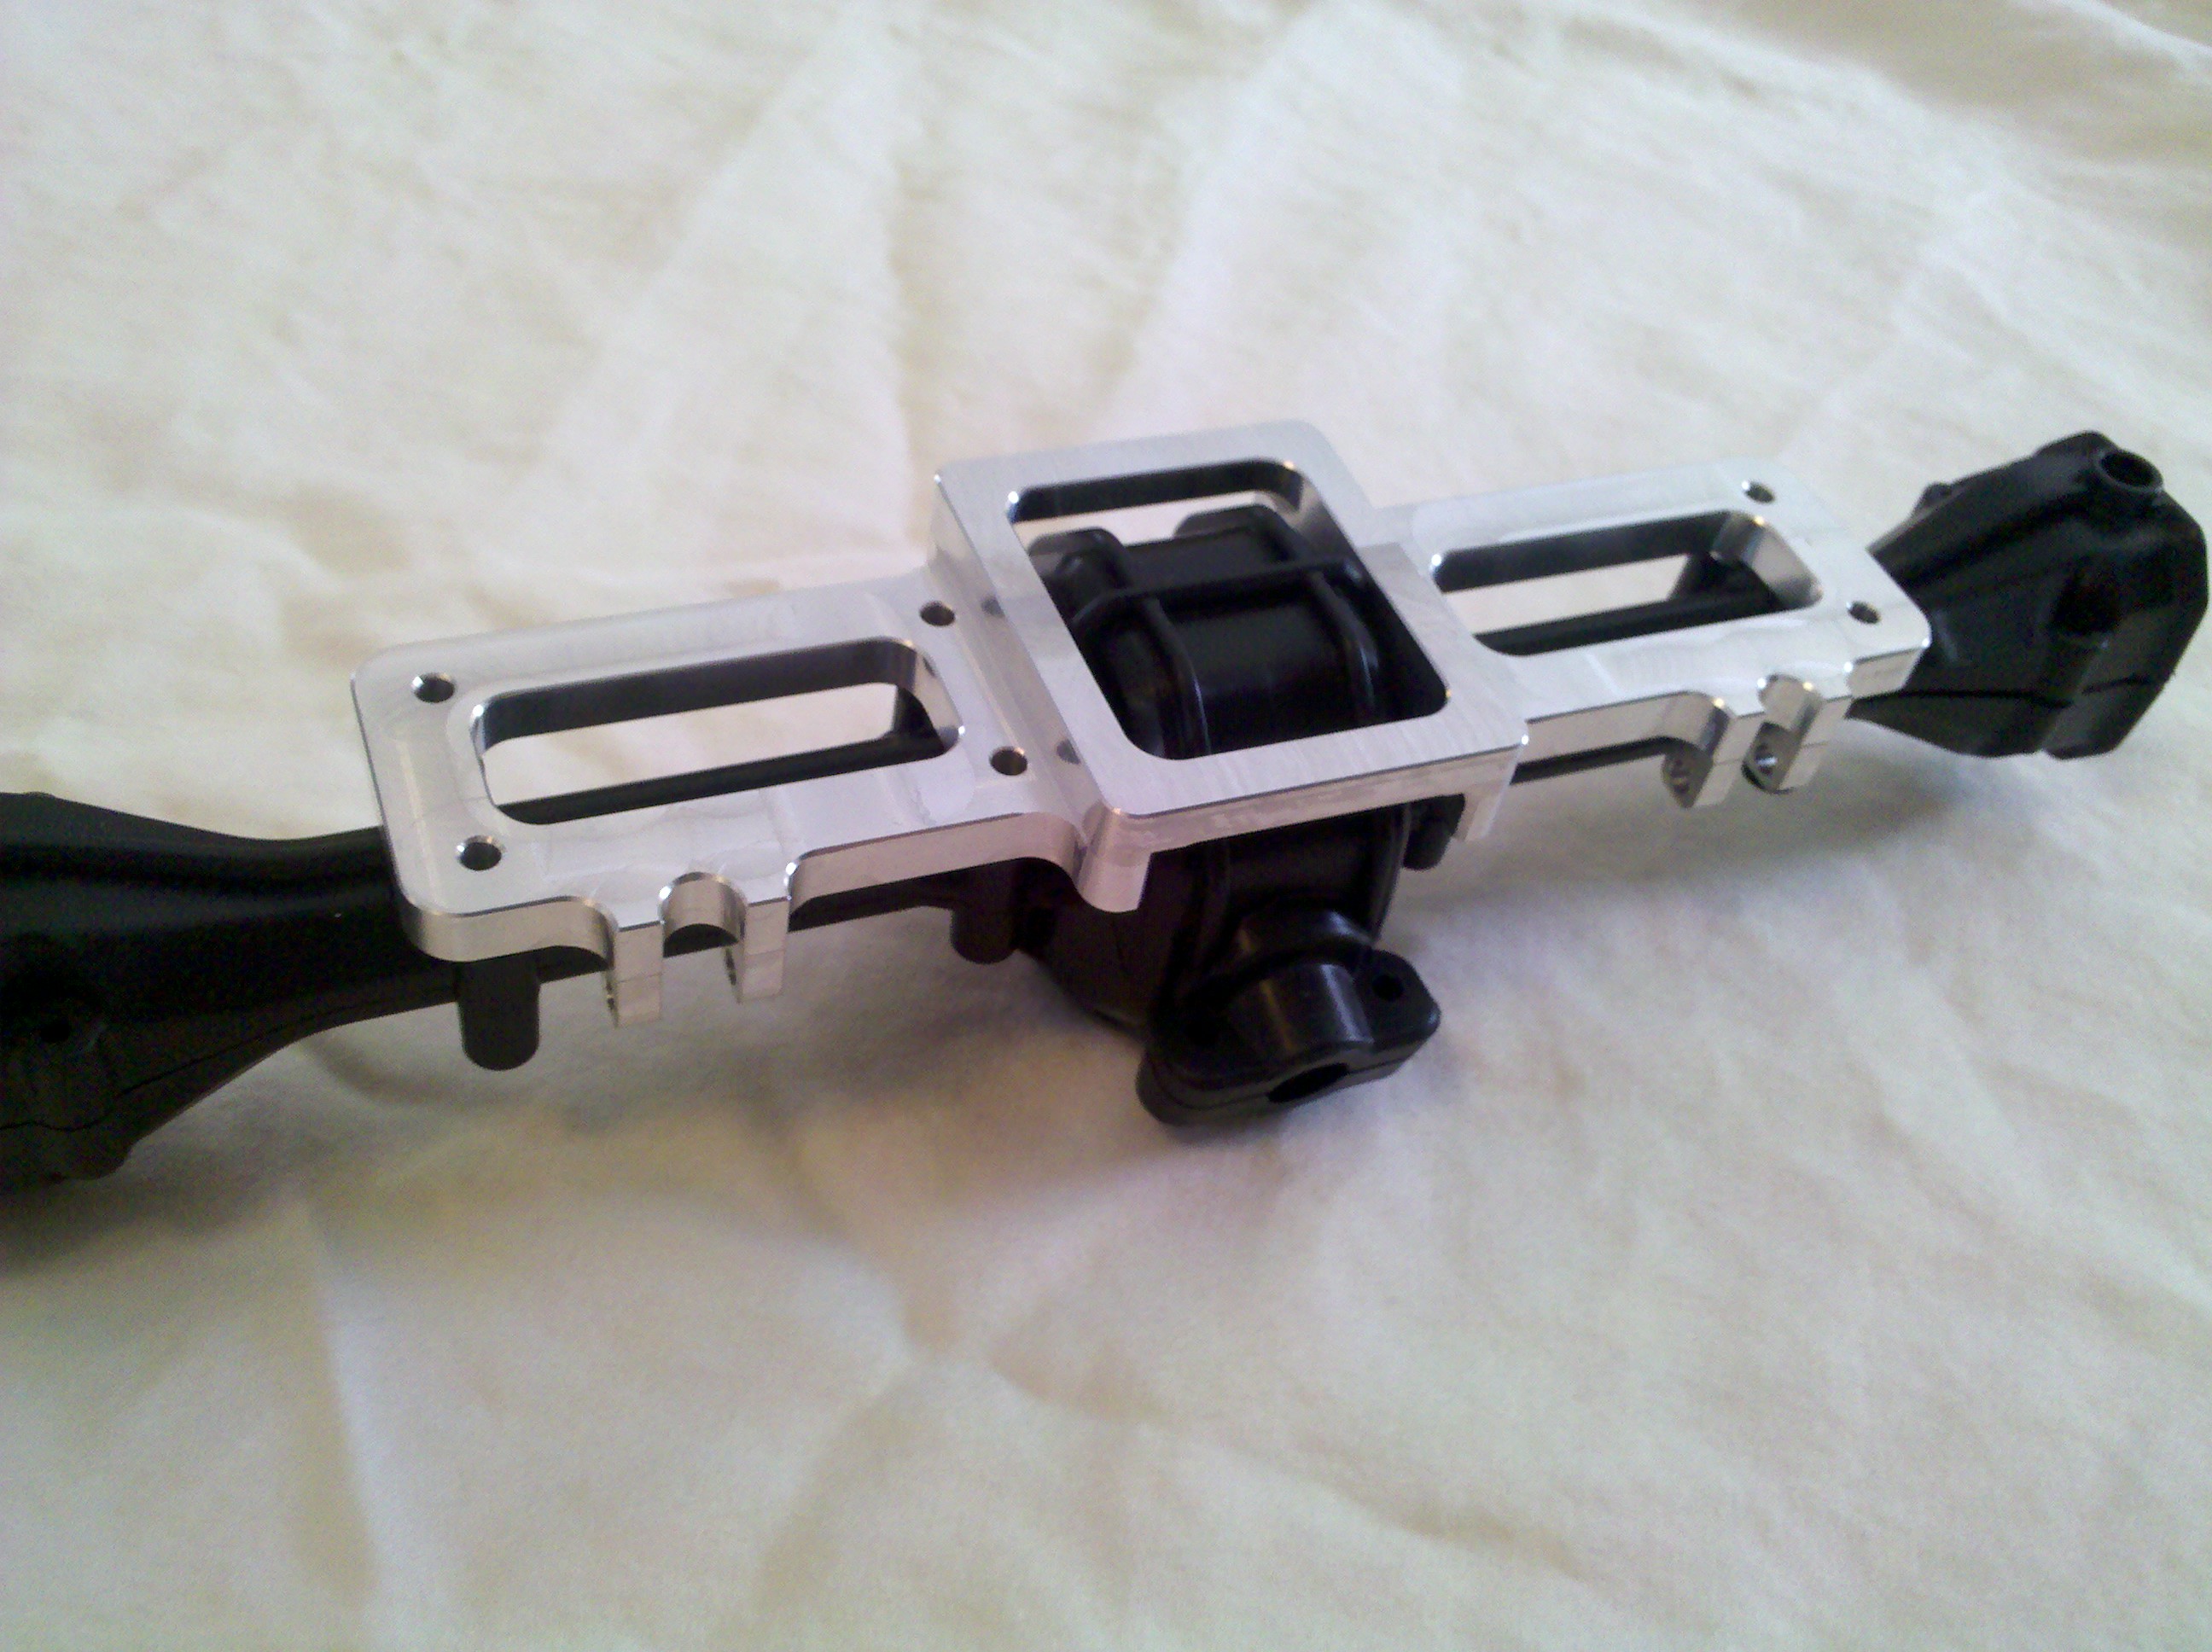
    Home made axle braces " Outlaw Hobby makes  makes some killer looking braces but $79.99 a pair is a

    little rich for my blood "


    Replacing the  shocks are on my to do list mainly because the stock spring diameter doesn't leave a lot of
    options for replacements and replacing them also means I could install longer shocks with more travel.


    Wednesday, February 5, 2014

    Snow snow snow and no 4x4

    I'm willing to on record as saying Winter fun Really requires a 4x4 R.C. . Sadly I was dumb enough to sell the Clodbuster and not have a immediate replacement on the way . Hopefully soon I will receive my a new toy for snow duty . But till them I'll just have to sit back and watch my step dad have a blast with his Ground Pounder and if the snow isn't to deep Caldera's . second though  I just might swipe the Ground Pounder when he's not looking .

    Friday, January 17, 2014

    So I bought a Redcat Racing Twister XTG PR0 .

    After posting a lot about  the Zmt-10 / Turnigy stadium
    king I got  several  Questions , responses , and opinions On here , on youtube , and on a forum about the Redcat Twister XTG being a competitor and I had to agree for the Average ebay Price of  $125.99 for the brushed version and $189.99 for the pro version (aka brushless) I had to agree it was definitely worth a look .

    Well I bought the pro version simply because it offered the most bang for the buck "64 bucks more and its
    brushless come on "  Well reality is life gets in the way of some things and it just sat in its box waiting patiently for its chance . So some time in September I  took it for a run in the yard and in the driveway with its included 2000Mah battery pack and pretty much it was about how I expected. it topped out at about  23-25 Mph and didn't really have a lot of viger getting there .  After cruising around for a pack I let the battery cool and then let it cycle a few times on the charger and the next run was
    a bit better but nothing to right home about . I do feel the performance was appropriate for a first time buyer . Well then it got put back in its box for a while and I gave the stock battery to my step dad to use in his Ground Pounder .

    Round 2 took place about mid December I grabbed a 3800Mah battery pack from my step dad that came with one of his caldera's and went for a spin around the yard . The 3800Mah showed considerably better speed and acceleration and made me really curious as to what improvement I would see with a lipo. but sadly about half way through this run I  ran smack into a parked truck tire and had my first breakage .

    I had broke the upper and lower plates that locate the front suspension . Now I will say temperature probably did have role in this breakage as it was below freezing outside but I maybe wrong .

    The good news is its already up and running bad news is there is snow outside and its a bit too deep for more driving  at the moment .

    My indoor testing has shown that installing a lipo's may make the optional wheelie bar mandatory if you have traction and a twitchy throttle finger .


    I will say there is one thing I don't like about the Redcat Twister and that is how the upper shock mounts to the Rear shock tower the aluminum cap ring actually rubs n the tower.


    It would have made more sense to me to mount them on the back side of the tower to do that the body would need to be mounted differently.


    Right now my only other annoyances if you will are with the transmitter. To be honest I kinda like the transmitter its lightweight well balanced and the adjustment knobs are a good size and easy to get to . What I don't care for is how small the range of movement is for the reverse/ brake side of the trigger range its too small for my taste and will make slowing down a fast model a less controllable experience " aka more wreck's". My second less than like on  this controller is the wheel . Its completely made from hard plastic and doesn't have a foam or rubber grip . I'm sure I can make something work but it just makes the radio feel cheesy . 


    The last thing to note on the radio is that it doesn't take 8 AA batteries and guess what It doesn't take 4 AA's either . It takes 3 AA's . 


    So as of 01/17/14 I may give it a thumbs up.
    Check back and see if I have changed my mind later .

    Sunday, January 12, 2014

    Places to get parts for your ZD Racing 1/16 th scale 1/12/2014


    Parts that can fit or improve your ZD Racing 1/16 th scale .

    http://www.hobbyking.com Many of the part's from there 1/16th scale monster beetle ,1/16  4wd buggy ,1/16 4wd mini rally -extreme edition,1/16 4wd nitro buggy and 1/16 mini trouper / short course truck will fit . 

    http://www.gotnitroonline.com/ These guys sell parts for the acme / VXT  Vulcan and Photon this is a great place to get metal diff gears and aluminum parts . Be careful and look at the components before you buy .

    Sunday, January 5, 2014

    The stuff that has broke on the Redcat Racing Caldera XB SC 10E

    This vehicle is not owned by me it is owned my my step father who is new to this hobby and is loving every minute of it. My hope is to keep track his breakages with this post and maybe help a future buyer with their spare parts list.


    These where bought used the below is a list of items broke when they were received or it was obvious they had been replaced .


    Spur gear  BS909-003
    Pinion gear BS909-004


    Spur gear  BS909-003
    Pinion gear BS909-004
    Servo  HX-3CP

    Servo saver / bellcrank had been upgrade stock unit was in baggy.


    Inner hub bearing mostly missing.

    10x15x4mm bearing BS903-016


    As of 02/ 05 /14 


    lower Pivot screw for front hub loosened and fell out  


    One cracked but not broken wheel due to collision . 


    lower Pivot screw for front hub loosened and fell out